Hey there, fellow DIY enthusiasts! Today, I'm super stoked to share with you an awesome project: turning a blue glass bottle into a small terrarium. And guess what? I'm an actual supplier of blue glass bottles, so I've got some insider knowledge to sprinkle in along the way.
First off, why a blue glass bottle? Well, blue glass has this really cool aesthetic. It gives a unique, calming vibe to your terrarium. Plus, it can provide a bit of a natural filter for sunlight, which can be great for some of the plants we'll be using.
Getting Your Supplies
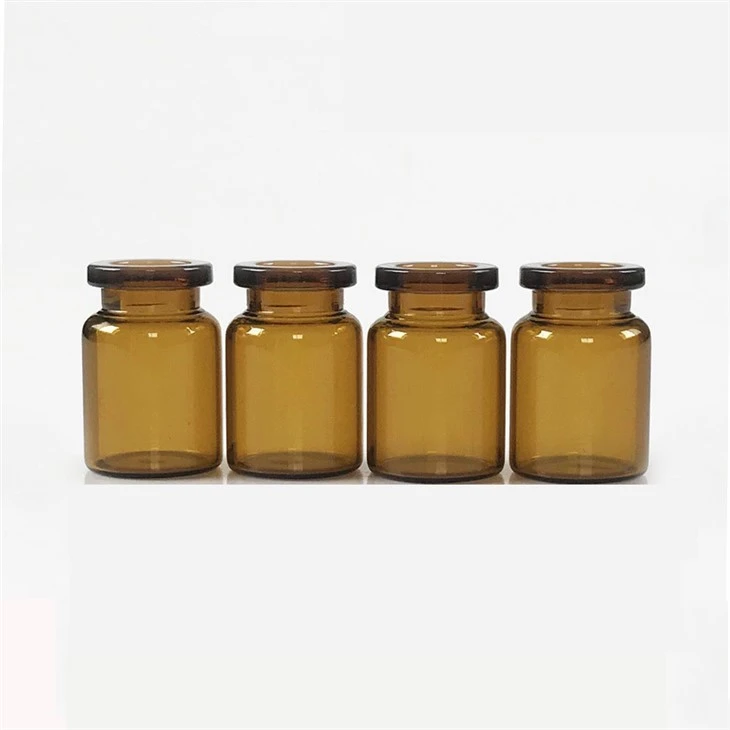
Let's start by gathering all the things you'll need for this project. Of course, the star of the show is a blue glass bottle. If you're interested in different sizes and types of glass bottles, we've got some great options on our website. Check out our 20ml Amber Glass Bottle, Pharmacy Medicine Bottles, and 1 Ml Vials. These are just a few examples of the high - quality glass containers we offer.
Besides the bottle, you'll need some other stuff. You'll want small pebbles or gravel for the drainage layer. This helps prevent water from sitting at the bottom and rotting the roots of your plants. You can find these at your local garden center or even collect some from a clean outdoor area.
Next up is activated charcoal. This might sound a bit fancy, but it's super important. It helps keep the air in the terrarium fresh by filtering out odors and impurities. You can usually find it at pet stores, as it's sometimes used in aquariums.
For the soil, choose a well - draining potting mix. A mix that's made for succulents or cacti can work really well. It'll allow the roots to breathe and won't hold too much water.
Now, let's talk plants. Since we're making a small terrarium, we need plants that don't grow too big. Some great options are mosses, ferns, and small succulents. Mosses are super easy to care for and add a lovely green carpet effect. Ferns bring a bit of a wild, foresty look, and succulents are tough and can tolerate different conditions. You can find these at your local nursery or even online plant shops.
Preparing the Bottle
Once you've got all your supplies, it's time to prep the bottle. Start by giving it a good wash. Use warm, soapy water and a bottle brush if you can get one in there. Make sure to rinse it thoroughly to get rid of any soap residue.
After it's clean, dry it completely. You don't want any water left inside when you start adding the layers.
Laying the Layers
Now comes the fun part - building the layers in the bottle. First, pour in a layer of pebbles or gravel about an inch thick. This will act as the drainage layer. Use a small funnel or a piece of paper rolled into a tube to make it easier to get the pebbles into the bottle without making a mess.
On top of the pebbles, add a thin layer of activated charcoal. This layer is usually about half an inch thick. The charcoal will help keep the environment in the terrarium healthy.
Next, it's time for the soil. Gently pour in the potting mix. You want to add enough so that you have a nice base for your plants, but not so much that it overflows when you add the plants. Aim for a layer about 2 - 3 inches thick, depending on the size of your bottle.
Planting the Terrarium
Once the soil is in, it's time to plant your little green friends. If you're using moss, you can break it into small pieces and press it gently into the soil. For ferns and succulents, use a small spoon or tweezers to make a hole in the soil. Carefully remove the plant from its original container, loosen the roots a bit, and place it in the hole. Then, gently press the soil around the base of the plant to hold it in place.
Be careful not to overcrowd the plants. They need some space to grow and get enough air and light.

Decorating and Maintaining
Now that your plants are in, you can add some decorative touches. You can put in a small figurine, like a tiny fairy or a little mushroom. You can also add some small pieces of driftwood or colorful stones.
After you've decorated, give your terrarium a light misting with water. Don't overwater it, as the closed environment of the terrarium will help retain moisture. You'll only need to water it every few weeks, depending on how dry the soil looks.
Place your terrarium in a spot where it gets indirect sunlight. Direct sunlight can heat up the bottle too much and harm the plants. A windowsill that gets morning or evening sun is usually a great spot.
Conclusion
Making a blue glass bottle into a small terrarium is a fun and rewarding project. It's a great way to bring a bit of nature into your home or office. And if you're in the market for high - quality glass bottles for your terrarium projects or other uses, we've got you covered.
If you're interested in purchasing our blue glass bottles or any of the other glass containers I mentioned earlier, feel free to reach out to us for more information. We're always happy to help you find the right product for your needs and answer any questions you might have. Whether you're a DIY pro or just starting out, we've got the supplies to make your projects a success.
References
- Gardening Know - How: Information on terrarium care and plant selection.
- The Spruce: Tips on creating and maintaining small terrariums.