Hey there! I'm a supplier of Mini Bottles Glass, and I know firsthand how tricky it can be to clean the inside of those narrow - necked mini glass bottles. But don't worry, I've got some tried - and - true methods that'll have your bottles sparkling clean in no time.
Why Cleaning Narrow - Necked Mini Glass Bottles is a Big Deal
First off, let's talk about why cleaning these little guys is so important. Whether you're using them for storing essential oils, homemade perfumes, or small samples in a lab, a dirty bottle can contaminate your products. Residue from previous contents can react with new substances, altering their quality and effectiveness. Plus, a clean bottle just looks better, right? It gives a more professional and appealing look to your products.
Pre - Cleaning Checks
Before you start scrubbing away, there are a few things you need to do. Check the bottle for any cracks or chips. A damaged bottle can't be properly cleaned and might even break during the cleaning process, posing a safety risk. Also, make sure you know what was previously stored in the bottle. Some substances might require special cleaning agents or procedures. For example, if the bottle held something sticky like honey, you'll need a different approach than if it held a water - based liquid.
Basic Cleaning with Soap and Water
The simplest and most common method for cleaning narrow - necked mini glass bottles is using soap and water. Start by filling a sink or a large bowl with warm water. Add a few drops of mild dish soap. You want to use a mild soap because strong chemicals can leave a residue on the glass or damage the bottle if it has any coatings.

Take your bottle and pour a small amount of the soapy water inside. Swirl it around gently to make sure the soap reaches all the surfaces. You can use a bottle brush if you have one that fits through the neck. If not, don't worry. You can also make a homemade cleaning tool by attaching a small piece of sponge to a thin wire or chopstick. Use this to scrub the inside of the bottle as best as you can.

Once you've scrubbed the bottle, rinse it thoroughly with clean water. You want to make sure all the soap is removed. You can do this by filling the bottle with clean water, swirling it around, and pouring it out several times.
Using Vinegar for a Deeper Clean
If the bottle has stubborn stains or odors, vinegar can be your best friend. Vinegar is a natural cleaning agent that can break down dirt and remove unpleasant smells. Mix equal parts of white vinegar and water in a container.
Pour the vinegar - water solution into the bottle. Let it sit for at least 30 minutes. The longer you let it sit, the better it'll work. During this time, the vinegar will start to dissolve any grime or residue on the inside of the bottle.
After 30 minutes, you can use a bottle brush or your homemade sponge tool to scrub the bottle again. The vinegar will have loosened up the dirt, making it easier to remove. Once you're done scrubbing, rinse the bottle thoroughly with clean water to get rid of the vinegar smell.

Baking Soda for Tough Stains
For really tough stains, baking soda is a great option. Baking soda is a mild abrasive that can help scrub away stubborn marks without scratching the glass. Make a paste by mixing baking soda with a small amount of water. The paste should be thick enough to stick to the bottle brush or sponge.
Apply the baking soda paste to the inside of the bottle using your cleaning tool. Scrub the bottle gently but firmly. Focus on the areas with stains. You might need to let the paste sit on the stains for a few minutes to work its magic.
After scrubbing, rinse the bottle well with clean water. You may need to repeat this process a few times for extremely stubborn stains.
Using Ultrasonic Cleaners
If you're dealing with a large number of narrow - necked mini glass bottles, an ultrasonic cleaner can be a game - changer. Ultrasonic cleaners use high - frequency sound waves to create tiny bubbles in a cleaning solution. These bubbles collapse near the surface of the bottle, removing dirt and debris.
Fill the ultrasonic cleaner with a suitable cleaning solution. You can use a mild detergent or a specialized glass - cleaning solution. Place the bottles in the cleaner, making sure they're fully submerged. Turn on the cleaner and let it run for the recommended time, usually around 10 - 15 minutes.
After the cleaning cycle is complete, remove the bottles from the cleaner and rinse them thoroughly with clean water. Ultrasonic cleaners are great for getting into all the nooks and crannies of the narrow - necked bottles, but they can be a bit pricey.
Drying the Bottles
Once you've cleaned the bottles, it's important to dry them properly. You can let them air - dry by placing them upside down on a clean towel or a drying rack. This allows any remaining water to drain out. If you're in a hurry, you can use a clean, lint - free cloth to dry the inside of the bottle. Just make sure the cloth is completely clean so you don't leave any fibers behind.
Our Mini Bottles Glass Products
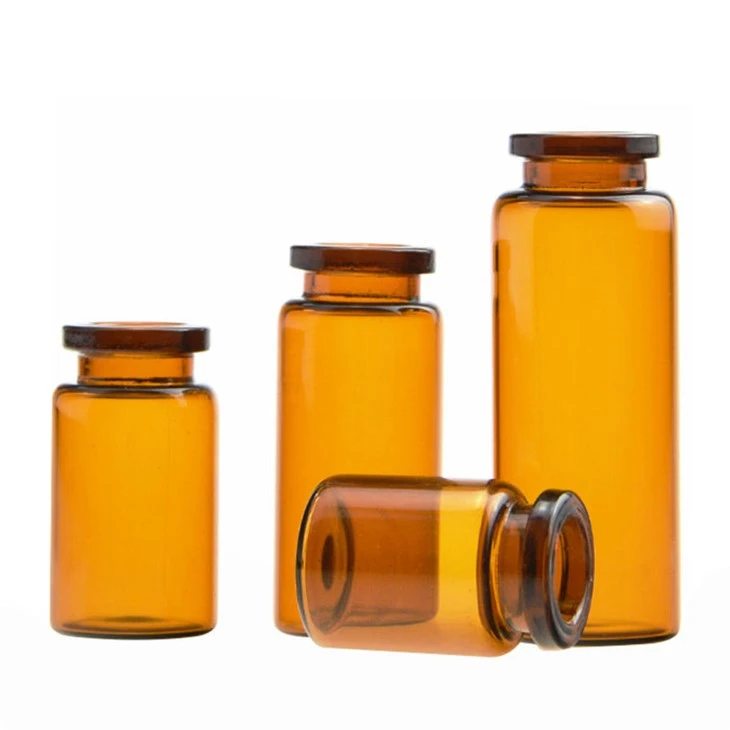
As a Mini Bottles Glass supplier, we offer a wide range of products to meet your needs. Check out our Glass Injection Vials, which are perfect for storing liquid medications or injectable substances. Our Pharmacy Vials and Caps are great for dispensing small amounts of medicine or supplements. And if you're looking for a stylish option, our Glass Bottle with Aluminum Cap adds a touch of elegance to your products.
Contact Us for Your Purchasing Needs
If you're interested in purchasing our Mini Bottles Glass products, we'd love to hear from you. Whether you need a small quantity for a personal project or a large order for your business, we can provide you with high - quality bottles at competitive prices. Contact us to start a purchase negotiation and find the perfect bottles for your needs.
References
- "The Complete Guide to Glass Cleaning" by Cleaning Experts Inc.
- "Home Remedies for Cleaning Glass Containers" by DIY Cleaning Magazine