Cleaning the inside of a narrow - necked glass bottle can be a tricky task, but it's essential for maintaining the quality and functionality of these vessels. As a glass bottle supplier, I've encountered various challenges related to bottle cleaning, and I'm here to share some effective methods with you.
Why Cleaning Narrow - Necked Glass Bottles is Important
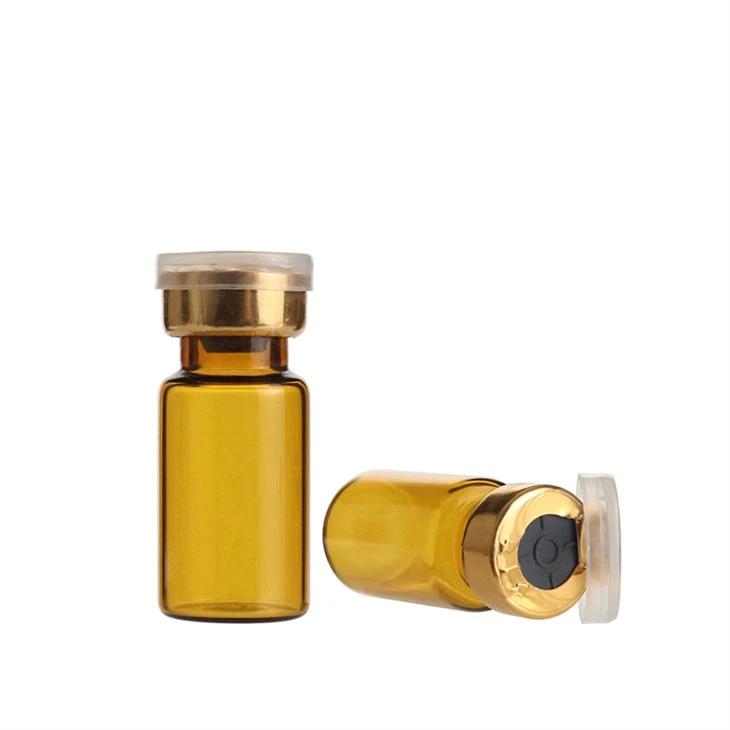
Narrow - necked glass bottles are widely used in many industries, such as pharmaceuticals, cosmetics, and food. In the pharmaceutical industry, Amber Medicine Glass Bottle is commonly used to store medicines. These bottles need to be thoroughly cleaned to prevent any contamination that could affect the quality and safety of the medicine. In the cosmetics industry, small bottles are used for essential oils, serums, etc. Any residue left in the bottle can alter the properties of the product. And in the food industry, even a small amount of leftover food can lead to spoilage and unpleasant odors.

Challenges of Cleaning Narrow - Necked Glass Bottles
The main challenge of cleaning narrow - necked glass bottles is the limited access to the inside of the bottle. The narrow neck restricts the use of regular cleaning tools, making it difficult to reach all areas of the bottle. Additionally, if the bottle has been used to store sticky substances like honey or thick syrups, the residue can be very stubborn and hard to remove.
Tools and Materials Needed
Before you start cleaning, gather the necessary tools and materials. You'll need:
- Cleaning Agents: Depending on the type of residue in the bottle, you can choose different cleaning agents. For general cleaning, mild dish soap is a good option. For more stubborn stains, you can use vinegar or baking soda.
- Brushes: A bottle brush with a long, thin handle is essential. You can also find specialty brushes designed specifically for narrow - necked bottles. Some brushes have flexible bristles that can bend to reach all corners of the bottle.
- Water: Warm water is more effective in dissolving dirt and residue than cold water.
- Towels or Rags: To dry the bottle after cleaning.
Step - by - Step Cleaning Process
Step 1: Pre - Rinse
The first step is to pre - rinse the bottle with warm water. This will help to loosen any loose debris or residue. Hold the bottle under running water and let the water flow through the bottle for a few minutes. If the bottle has a cap or lid, remove it and rinse it separately.
Step 2: Prepare the Cleaning Solution
If you're using dish soap, fill a sink or a large container with warm water and add a few drops of dish soap. Stir the water gently to create a soapy solution. If you're using vinegar or baking soda, mix one part vinegar or baking soda with three parts water in a container.
Step 3: Soak the Bottle
Submerge the bottle in the cleaning solution and let it soak for at least 30 minutes. This will help to break down the stubborn residue. If the residue is particularly tough, you can soak the bottle overnight.
Step 4: Use a Brush
After soaking, take the bottle out of the cleaning solution and use a bottle brush to scrub the inside of the bottle. Start from the bottom and work your way up, making sure to scrub all areas of the bottle, including the sides and the neck. For hard - to - reach areas, you can bend the brush bristles or use a smaller brush.
Step 5: Rinse Thoroughly
Once you've scrubbed the bottle, rinse it thoroughly with warm water. Make sure to remove all traces of the cleaning solution. You can hold the bottle under running water or fill it with water and empty it several times.
Step 6: Dry the Bottle
After rinsing, dry the bottle with a clean towel or rag. You can also let the bottle air - dry by placing it upside down on a clean surface. Make sure the bottle is completely dry before using it again.
Special Cleaning Situations
Cleaning Bottles with Sticky Residue
If the bottle has been used to store sticky substances like honey or syrup, you can use a combination of hot water and vinegar. Fill the bottle with hot water and add a tablespoon of vinegar. Let it sit for a few hours or overnight. The vinegar will help to break down the sticky residue. Then, use a brush to scrub the bottle and rinse it thoroughly.
Cleaning Bottles with Odors
If the bottle has an unpleasant odor, you can use baking soda to eliminate it. Fill the bottle with warm water and add a tablespoon of baking soda. Let it soak for a few hours or overnight. The baking soda will absorb the odor. Rinse the bottle thoroughly and dry it.
Tips for Maintaining Clean Bottles
- Clean Bottles Regularly: To prevent the buildup of residue and stains, clean your bottles regularly, especially if they are used frequently.
- Store Bottles Properly: Keep your bottles in a clean and dry place. Avoid storing them in areas where they can be exposed to dust or dirt.
- Use the Right Caps or Lids: Make sure to use caps or lids that fit properly to prevent dust and dirt from entering the bottle.
As a glass bottle supplier, we offer a wide range of glass bottles, including 1 Ml Vials and Small Medicine Bottle. Our bottles are made of high - quality glass and are suitable for various applications. If you're interested in purchasing our glass bottles or have any questions about bottle cleaning or other related topics, feel free to contact us for procurement and negotiation.
References
- "Glass Bottle Manufacturing and Quality Control" - Industry handbook on glass bottle production
- "Effective Cleaning Methods for Small Containers" - Research paper on cleaning techniques for small bottles and vials.