

Hey there! As a glass vial supplier, I often get asked about how to clean glass vials that have been used for biological samples. It's a crucial process, not only for reusing the vials but also for ensuring the accuracy of future experiments or analyses. So, let's dive right into it!
Why Cleaning Glass Vials is a Big Deal
First off, you might be wondering why it's so important to clean these vials properly. Well, biological samples can leave behind all sorts of residues - proteins, DNA, bacteria, and more. If these residues aren't removed completely, they can contaminate future samples. This contamination can mess up your results big time, whether you're doing medical research, environmental testing, or any other kind of biological analysis. So, a good cleaning routine is essential for reliable and consistent data.
Pre - Cleaning Steps
Before you start the actual cleaning process, there are a few things you need to do. First, make sure you're wearing the right protective gear. Gloves, goggles, and a lab coat are a must, especially if the biological samples were potentially hazardous.
Next, label the vials clearly. This might seem like a no - brainer, but it's easy to mix up vials during the cleaning process. Knowing which vials held which samples can help you determine the best cleaning method.
Now, it's time to empty the vials. Carefully pour out any remaining liquid into a proper waste container. If there are solid residues, you can try gently rinsing the vials with a suitable solvent. For water - soluble residues, plain water might do the trick. But for more stubborn substances, you might need something like ethanol or a mild detergent.
The Cleaning Process
Manual Cleaning
If you're dealing with a small number of vials, manual cleaning can be a good option. Start by filling a sink or a large container with warm water and add a small amount of a mild, laboratory - grade detergent. Make sure the detergent is free of any additives that could contaminate your future samples.
Submerge the vials in the soapy water and let them soak for about 15 - 30 minutes. This will help loosen up the residues. After soaking, use a soft - bristle brush to gently scrub the inside and outside of the vials. Pay special attention to the bottom and the neck of the vials, as these areas often have the most residue.
Rinse the vials thoroughly with distilled water at least three times. Distilled water is important because it doesn't contain any minerals or impurities that could leave behind residues.
Automated Cleaning
For larger quantities of vials, an automated glassware washer can be a real time - saver. These machines use high - pressure water jets and detergents to clean the vials. Just load the vials into the washer, add the appropriate detergent, and set the cycle.
Most automated washers have different settings for different levels of contamination. You can choose a gentle cycle for lightly soiled vials or a more intensive cycle for vials with heavy residues. After the wash cycle is complete, the vials will be rinsed multiple times with distilled water.
Decontamination
Cleaning the vials isn't enough; you also need to decontaminate them to kill any remaining bacteria or viruses. One common method is autoclaving. Autoclaving uses high - pressure steam to sterilize the vials. Place the clean vials in an autoclave bag and seal it. Make sure the bag has a steam - permeable side.
Set the autoclave to the appropriate temperature and time. For most glass vials, a temperature of 121°C (250°F) for 15 - 20 minutes is sufficient. After autoclaving, let the vials cool down completely before handling them.
Another option is using chemical disinfectants. You can soak the vials in a solution of a suitable disinfectant, such as bleach or hydrogen peroxide. However, make sure to rinse the vials thoroughly with distilled water after using chemical disinfectants to remove any traces of the chemicals.
Drying
Once the vials are clean and decontaminated, it's time to dry them. You can air - dry the vials by placing them upside down on a clean, lint - free surface. This allows any remaining water to drain out.
If you're in a hurry, you can use a drying oven. Set the oven to a low temperature, around 60 - 80°C (140 - 176°F), and place the vials inside. Make sure the vials are placed on a clean tray and are not overcrowded.
Storage
After the vials are dry, store them in a clean, dust - free environment. You can use a cabinet or a storage container with a lid to protect the vials from dust and other contaminants. Label the storage container with the type of vials and the date of cleaning.
Our Glass Vial Products
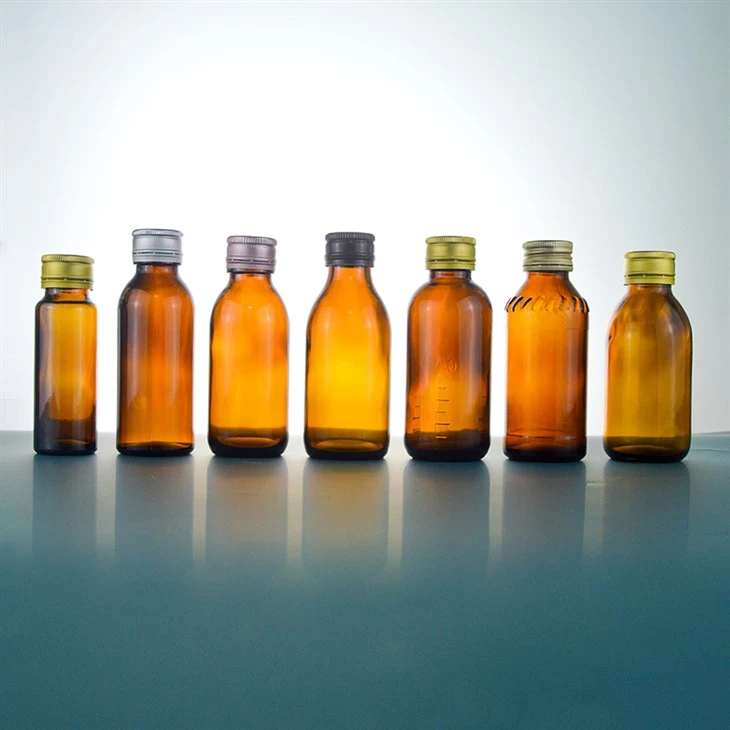
As a glass vial supplier, we offer a wide range of high - quality glass vials for biological sample storage. Check out our Glass Bottle with Aluminum Cap, which provides a secure seal for your samples. Our 20ml Medicine Bottle is perfect for storing small to medium - sized biological samples. And if you need smaller vials, our Small Medicine Bottle can be a great choice.
If you're interested in purchasing our glass vials for your biological sample storage needs, don't hesitate to contact us for more information and to discuss your specific requirements. We're here to help you find the best solutions for your laboratory or research facility.
References
- "Laboratory Glassware: Cleaning and Maintenance," Laboratory Equipment Magazine, 20XX
- "Guidelines for Cleaning and Sterilizing Glassware in Biological Research," National Institute of Health (NIH), 20XX