Hey there! I'm a supplier of rubber stoppers, and I've seen all sorts of scenarios when it comes to using and removing these little guys from containers. In this blog, I'm gonna share some effective ways to get that rubber stopper out of a container.

First off, let's talk about why you might need to remove a rubber stopper. Maybe you're in a lab setting, and you need to access the contents of a test tube or a flask. Or perhaps you're dealing with a home - brewing project, and you've sealed a bottle with a rubber stopper and now it's time to open it up. Whatever the reason, knowing the right techniques can save you a lot of hassle.
Method 1: Twisting and Pulling
This is the most basic method. If the rubber stopper isn't too tightly fitted, you can simply grab it firmly between your thumb and forefinger and give it a gentle twist. As you twist, start to pull it out slowly. Sometimes, the seal might break just with a bit of twisting, and the stopper will come out easily.
However, if the container is under pressure or the stopper is really stuck, this method might not work. You could end up just making the stopper more wedged in. In such cases, you'll need to try something else.
Method 2: Using Lubrication
If the stopper is stuck due to a tight fit, lubrication can be your best friend. You can use substances like vegetable oil, petroleum jelly, or even a bit of soapy water. Apply a small amount of the lubricant around the edge of the stopper where it meets the container.
Let it sit for a few minutes to allow the lubricant to seep in and break the seal. Then, try the twisting and pulling method again. The lubricant reduces the friction between the stopper and the container, making it easier to remove. Just be careful not to use too much lubricant, especially if you're dealing with a container that holds something sensitive. You don't want the lubricant to contaminate the contents.
Method 3: Thermal Expansion
Rubber expands and contracts with changes in temperature. If the rubber stopper is stuck, you can use this property to your advantage. For example, if the container is made of glass and can withstand a bit of temperature change, you can try running the neck of the container under hot water for a minute or two.
The heat will cause the glass to expand slightly, while the rubber stopper won't expand as quickly. This creates a small gap between the stopper and the container, making it easier to remove the stopper. Just be careful not to overheat the glass, as it could crack.
On the other hand, if you have access to a freezer, you can also try the opposite approach. Put the container with the stopper in the freezer for a short period. The rubber will contract more than the container, and again, this can create a gap that allows you to remove the stopper more easily.
Method 4: Using Tools
There are some tools that can help you remove a stubborn rubber stopper. A pair of pliers can be useful, but you need to be very careful. Wrap a piece of cloth around the jaws of the pliers to avoid damaging the stopper. Then, gently grip the stopper with the pliers and try to pull it out.
Another tool is a rubber stopper removal tool, which is specifically designed for this purpose. These tools usually have a hook or a claw - like end that can be inserted under the edge of the stopper to lift it out.
Special Considerations for Different Types of Rubber Stoppers
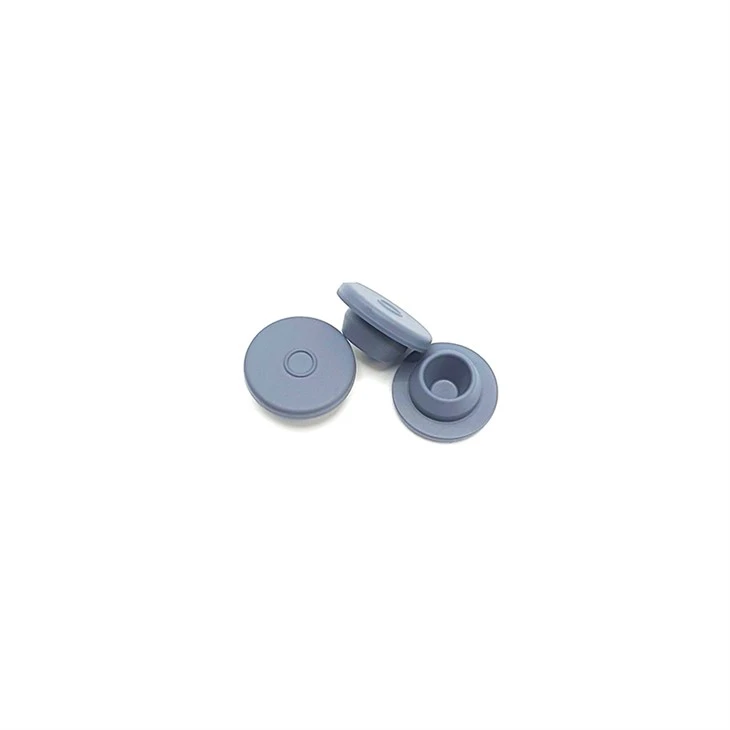
We offer a wide range of rubber stoppers, such as the Infusion Rubber Stopper, Rubber Stopper 32mm, and 13mm Grey Butyl Rubber Stoppers. Different types of rubber stoppers might require different removal methods.
For example, butyl rubber stoppers, like our 13mm Grey Butyl Rubber Stoppers, are known for their excellent sealing properties, which means they can be more difficult to remove. You might need to use a combination of the methods mentioned above, like lubrication and thermal expansion, to get them out.
Infusion rubber stoppers are often used in medical or laboratory settings. When removing these, you need to be extra careful not to contaminate the contents of the container. Always make sure your hands and any tools you use are clean.
Tips for Preventing Stoppers from Getting Stuck
Prevention is always better than cure. To avoid having to deal with stuck rubber stoppers in the first place, make sure you choose the right size stopper for your container. A stopper that is too small won't seal properly, but a stopper that is too large will be difficult to remove.
Also, when inserting the stopper, don't push it in too hard. Just apply enough pressure to create a good seal. If you're using a container that will be under pressure, make sure to release the pressure before trying to remove the stopper.
Conclusion
Removing a rubber stopper from a container can be a simple task if you know the right methods. Whether it's using lubrication, thermal expansion, or tools, there are several ways to get that stubborn stopper out.
At our company, we're committed to providing high - quality rubber stoppers like the Infusion Rubber Stopper, Rubber Stopper 32mm, and 13mm Grey Butyl Rubber Stoppers. If you're in the market for rubber stoppers or have any questions about their use and removal, feel free to reach out. We're here to help you with all your rubber stopper needs. Whether you're a small - scale home user or a large - scale industrial client, we can provide the right solutions for you. Contact us to start a procurement discussion, and let's figure out the best rubber stoppers for your specific requirements.
References
- "Laboratory Techniques in Chemistry" textbooks often cover basic methods for handling and removing rubber stoppers in a lab setting.
- General DIY and home - brewing blogs that discuss container sealing and opening techniques.