

Transforming an ordinary small glass bottle into a charming vase is a creative and rewarding endeavor. As a supplier of various small glass bottles, including the 10ml Medicine Bottle, Small Glass Bottle, and 2ml Glass Bottle, I am excited to share with you the step - by - step process of turning these simple containers into lovely vases.
Step 1: Selecting the Right Bottle
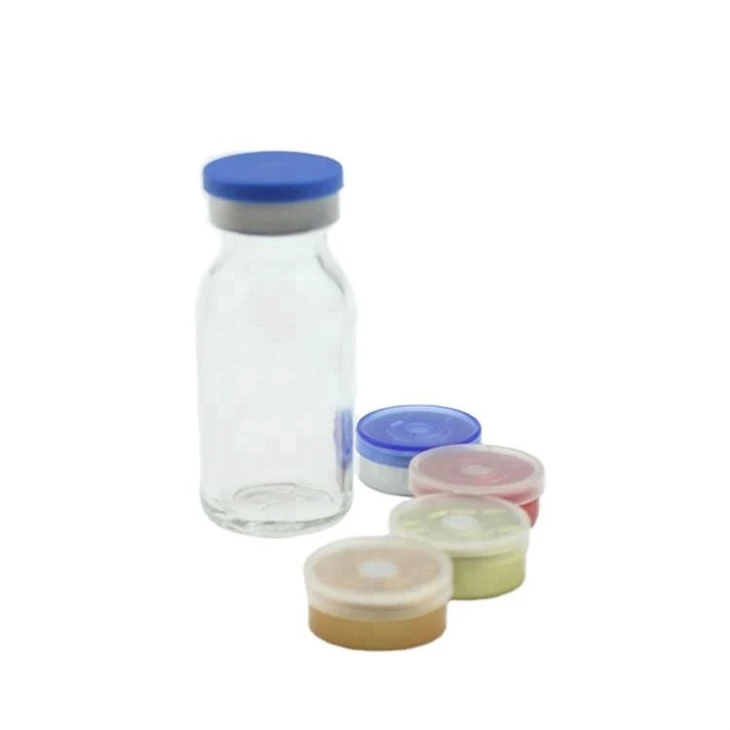
The first step in creating a beautiful vase from a small glass bottle is choosing the appropriate bottle. Our range of small glass bottles offers diverse shapes, sizes, and colors. The 10ml Medicine Bottle is a great choice if you're looking for a compact and sturdy option. It has a relatively small opening, which can hold single - stemmed flowers nicely, such as a delicate rose or a slender orchid.
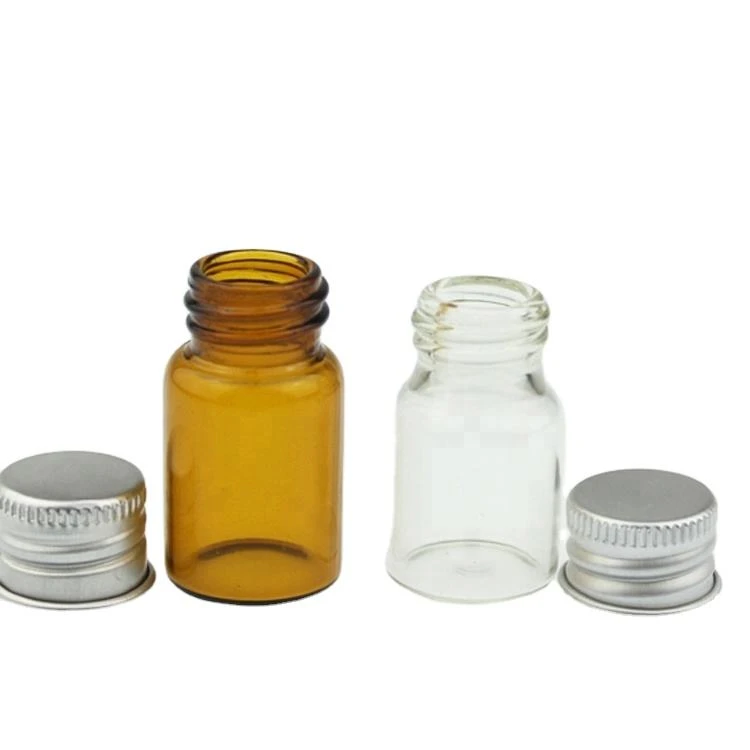
On the other hand, if you want a wider opening to arrange multiple flowers, the Small Glass Bottle with a broader rim is a better pick. It can accommodate a small bouquet of daisies or baby's breath. The 2ml Glass Bottle, although tiny, can be used for mini - flower arrangements or small succulents. It's perfect for creating a miniature garden on your desk.
Step 2: Cleaning the Bottle
Once you've selected the bottle, it's crucial to clean it thoroughly. This ensures that there are no contaminants that could harm the flowers or affect the water quality. Fill the bottle with warm, soapy water using a mild dish soap. Use a small brush, like a bottle brush, to scrub the inside of the bottle. Pay special attention to the corners and the bottom where dirt and debris might collect.
Rinse the bottle multiple times with clean water to remove all the soap residue. Leave the bottle to air - dry completely, either upside - down on a drying rack or on a clean towel. This step may seem simple, but it's essential for the long - term health of your flowers.
Step 3: Decorating the Bottle
There are numerous ways to decorate your small glass bottle to make it a unique vase. One popular method is using paint. You can choose acrylic paint, which adheres well to glass. You can paint the entire bottle in a solid color, or create patterns such as stripes, dots, or even a hand - drawn design. Let the paint dry completely between coats for a smooth finish.
Another option is to use decorative tape. Washi tape comes in a wide variety of colors, patterns, and textures. You can wrap the tape around the middle of the bottle to create a colorful band or use it to make geometric shapes on the bottle's surface.
For a more natural look, you can use twine or jute. Wrap the twine tightly around the bottle, adding a rustic and earthy touch. You can also glue small beads, sequins, or shells onto the bottle for a more glamorous effect.
Step 4: Preparing the Flowers
Before placing the flowers in the vase, you need to prepare them properly. Start by trimming the stems at an angle using a sharp pair of scissors or pruning shears. Cutting the stems at an angle increases the surface area for water absorption, allowing the flowers to stay fresh longer.
Remove any leaves or thorns that will be below the waterline. These can rot and contaminate the water, shortening the lifespan of the flowers. If you're using a bouquet, you may need to separate the stems and adjust the length so that they fit nicely in the bottle.
Step 5: Arranging the Flowers
Now it's time to arrange the flowers in the vase. If you're using a single - stemmed flower in a 10ml Medicine Bottle, simply place the stem in the bottle and adjust it so that the flower is at a pleasing height.
For a multi - flower arrangement in a Small Glass Bottle, start by placing the largest or most prominent flower in the center. Then, add the smaller flowers around it, gradually building up the arrangement. You can also add some greenery, like ferns or eucalyptus leaves, to add texture and color.
If you're using the 2ml Glass Bottle for a mini - arrangement, you can use small flowers like pansies or violets. You may need to use a pair of tweezers to carefully place the flowers in the tiny bottle.
Step 6: Adding Water and Maintenance
Fill the vase with clean water, making sure to cover the bottom part of the stems. You can add a flower preservative to the water to extend the life of the flowers. Follow the instructions on the preservative package for the correct dosage.
Change the water every two to three days to keep it fresh and prevent the growth of bacteria. Trim the stems slightly every time you change the water to ensure that the flowers can continue to absorb water effectively.
Why Choose Our Small Glass Bottles for Vase - Making?
Our small glass bottles are made from high - quality glass, which is not only durable but also has a clear and shiny appearance. The bottles are carefully crafted to ensure a smooth interior and exterior, making them easy to clean and decorate.
We offer a wide range of sizes and styles to meet your different needs. Whether you're looking for a small bottle for a single flower or a larger one for a bouquet, we have the perfect option for you. Moreover, our bottles are competitively priced, so you can afford to buy multiple bottles to create different vase arrangements.
Contact Us for Purchase and Collaboration
If you're interested in purchasing our small glass bottles for your vase - making projects or for commercial use, we would love to hear from you. We are committed to providing excellent customer service and high - quality products. Whether you're a DIY enthusiast, a florist, or a retailer, our small glass bottles can be a great addition to your collection. Feel free to reach out and start a conversation about your specific requirements.
References
- Flower care guidebooks from local nurseries
- DIY home decor magazines