Hey there! I'm a supplier of glass bottles, and today I'm super excited to share with you how to turn a glass bottle into a beautiful vase. Glass bottles are not only versatile but also eco - friendly. Instead of tossing them away, we can give them a new lease on life as a stunning vase.
Step 1: Choose the Right Glass Bottle
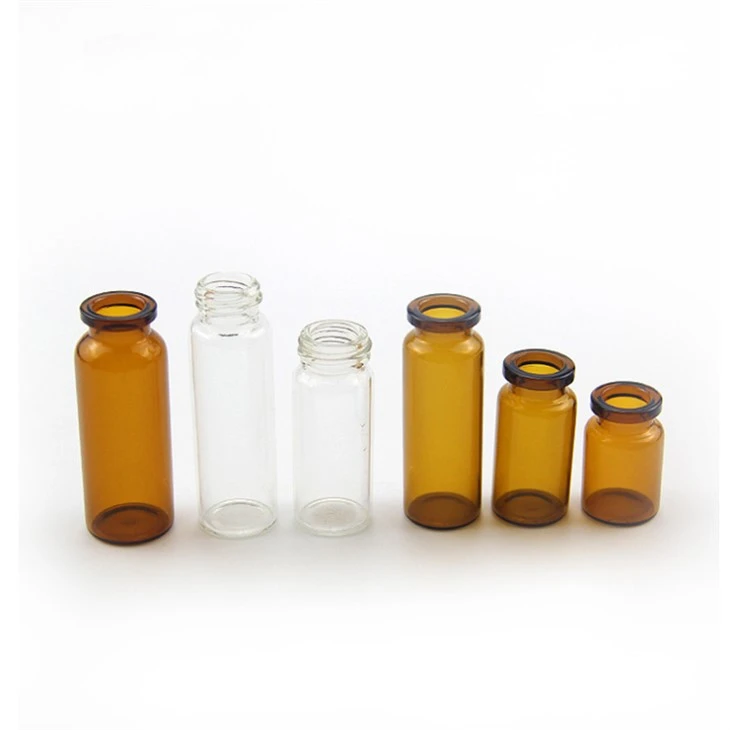
First things first, you gotta pick the right glass bottle. As a glass bottle supplier, I've got a wide range of options. You might consider a 10ml Glass Vial with Rubber Stopper. It's small and cute, perfect for a single flower or a few tiny blossoms. If you want something a bit larger, the Penicillin Bottle 30ml is a great choice. It can hold a small bouquet nicely. And for those who want to make a statement with a big arrangement, the Medicine Packaging Bottle can be a fantastic option. It's larger and can accommodate more flowers.
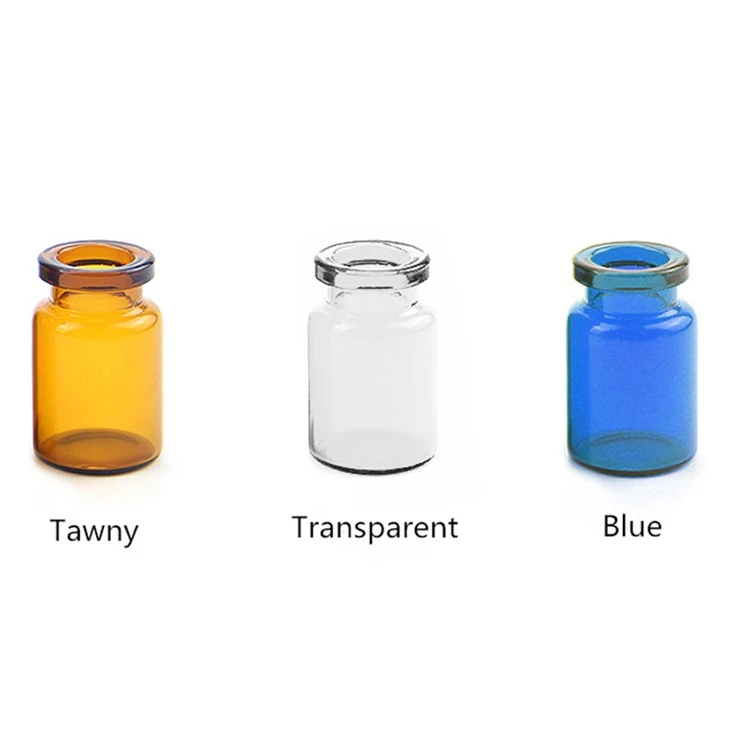
When choosing a bottle, think about the shape and size of the flowers you plan to put in it. For example, long - stemmed flowers like roses or lilies will need a taller bottle, while short - stemmed ones like daisies or violets can do well in a shorter bottle. Also, consider the color of the glass. Clear glass bottles are classic and let you see the water and the stems, which can be really beautiful. But colored glass can add a unique touch, like a blue or green bottle that gives a more vintage or moody look.
Step 2: Clean the Bottle Thoroughly
Once you've chosen your bottle, it's time to clean it up. You don't want any dirt, residue, or old labels on your new vase. Start by removing any labels. You can soak the bottle in warm, soapy water for a while. This usually makes the labels easier to peel off. If there's any sticky residue left after removing the label, you can use rubbing alcohol or vinegar to get rid of it. Just dip a cotton ball in the alcohol or vinegar and rub it on the sticky part.
After getting rid of the labels and residue, wash the bottle inside and out with hot, soapy water. Use a bottle brush to scrub the inside, especially if there are any hard - to - reach areas. Rinse it thoroughly to make sure there's no soap left. You can even let it soak in clean water for a bit to make sure all the soap is gone. Then, dry it completely. You can either let it air - dry or use a clean towel to dry it. A clean bottle not only looks better but also helps keep your flowers healthy by preventing the growth of bacteria in the water.
Step 3: Decorate the Bottle (Optional)
Now, this step is totally up to you. You can leave the bottle plain and simple, or you can get creative and decorate it. There are so many ways to do this. One easy way is to paint the bottle. You can use acrylic paints to add patterns, designs, or just a solid color. For example, you can paint a floral pattern on the bottle to match the flowers you'll put in it. Or you can do a simple ombre effect by painting the bottom of the bottle one color and gradually fading it to a lighter or darker shade towards the top.
Another option is to add some stickers or washi tape. Stickers can be a quick and easy way to add some personality to the bottle. You can find all kinds of stickers, from cute animals to geometric shapes. Washi tape is also really popular. You can create stripes, chevrons, or other patterns with different colors and designs of washi tape. It's easy to apply and remove if you ever want to change the look.
You can also add some beads, sequins, or glitter. Use a glue gun or craft glue to attach them to the bottle. This can give the vase a sparkly and glamorous look. Just be careful not to use too much glue, or it might look messy.
Step 4: Prepare the Bottle for the Flowers
Before putting the flowers in, you need to prepare the bottle. If the bottle has a narrow neck, you might want to use a flower frog or some marbles to help hold the flowers in place. A flower frog is a small device with spikes that you can place at the bottom of the bottle. The spikes hold the stems in position, so the flowers don't flop around. If you don't have a flower frog, marbles can work just as well. Fill the bottom of the bottle with a layer of marbles, and then place the flowers on top of them.
Next, fill the bottle with water. Use room - temperature water, as cold water can shock the flowers and hot water can damage them. You can also add a flower preservative to the water. You can buy flower preservatives at a florist or a garden center. They usually contain nutrients that help the flowers last longer and keep the water clean. Just follow the instructions on the package for how much to add.
Step 5: Arrange the Flowers
Now comes the fun part - arranging the flowers. Start by trimming the stems at an angle. This helps the flowers absorb water better. Use a sharp pair of scissors or pruning shears to make a clean cut. Cut the stems to the right length for your bottle. You want the flowers to be tall enough to be visible above the rim of the bottle but not so long that they fall over.
Begin with the focal flowers. These are the main flowers that you want to stand out, like a big rose or a lily. Place them in the center of the bottle. Then, add the filler flowers around the focal flowers. Filler flowers are smaller and more delicate, like baby's breath or gypsophila. They add volume and a softer look to the arrangement. Finally, add some greenery. Leaves and branches can make the arrangement look more natural and full. You can use things like eucalyptus, ferns, or ivy.
Play around with the placement of the flowers until you're happy with how it looks. You can adjust the height and angle of the stems to create a more balanced and attractive arrangement.
Step 6: Maintain the Vase
Once you've arranged your flowers in the vase, you need to take care of them to make them last longer. Change the water every two to three days. This helps keep the water fresh and prevents the growth of bacteria. When you change the water, also trim the stems a little bit. This exposes a fresh surface for the flowers to absorb water.
Keep the vase away from direct sunlight and heat sources. Too much sunlight can make the water warm and cause the flowers to wilt faster. Also, avoid placing the vase near fruits. Fruits release ethylene gas, which can make the flowers age more quickly.
If any flowers start to wilt or die, remove them from the arrangement right away. This not only makes the vase look better but also prevents the spread of bacteria to the other flowers.
Conclusion
Turning a glass bottle into a vase is a really fun and rewarding project. It's a great way to be eco - friendly by reusing something that would otherwise end up in the trash. And it allows you to create a unique and beautiful vase that suits your style and the flowers you love. Whether you're a beginner or an experienced crafter, this is a project that anyone can do.
If you're interested in getting more glass bottles for your crafting projects or for other purposes, I'm here as your glass bottle supplier. I've got a wide variety of high - quality glass bottles to meet your needs. If you have any questions or want to discuss your requirements, feel free to reach out. We can have a chat about the best bottles for your specific needs and work out a great deal.
References
- "The Complete Guide to Flower Arranging" by a well - known florist.
- DIY Crafting Magazines that often feature glass bottle projects.